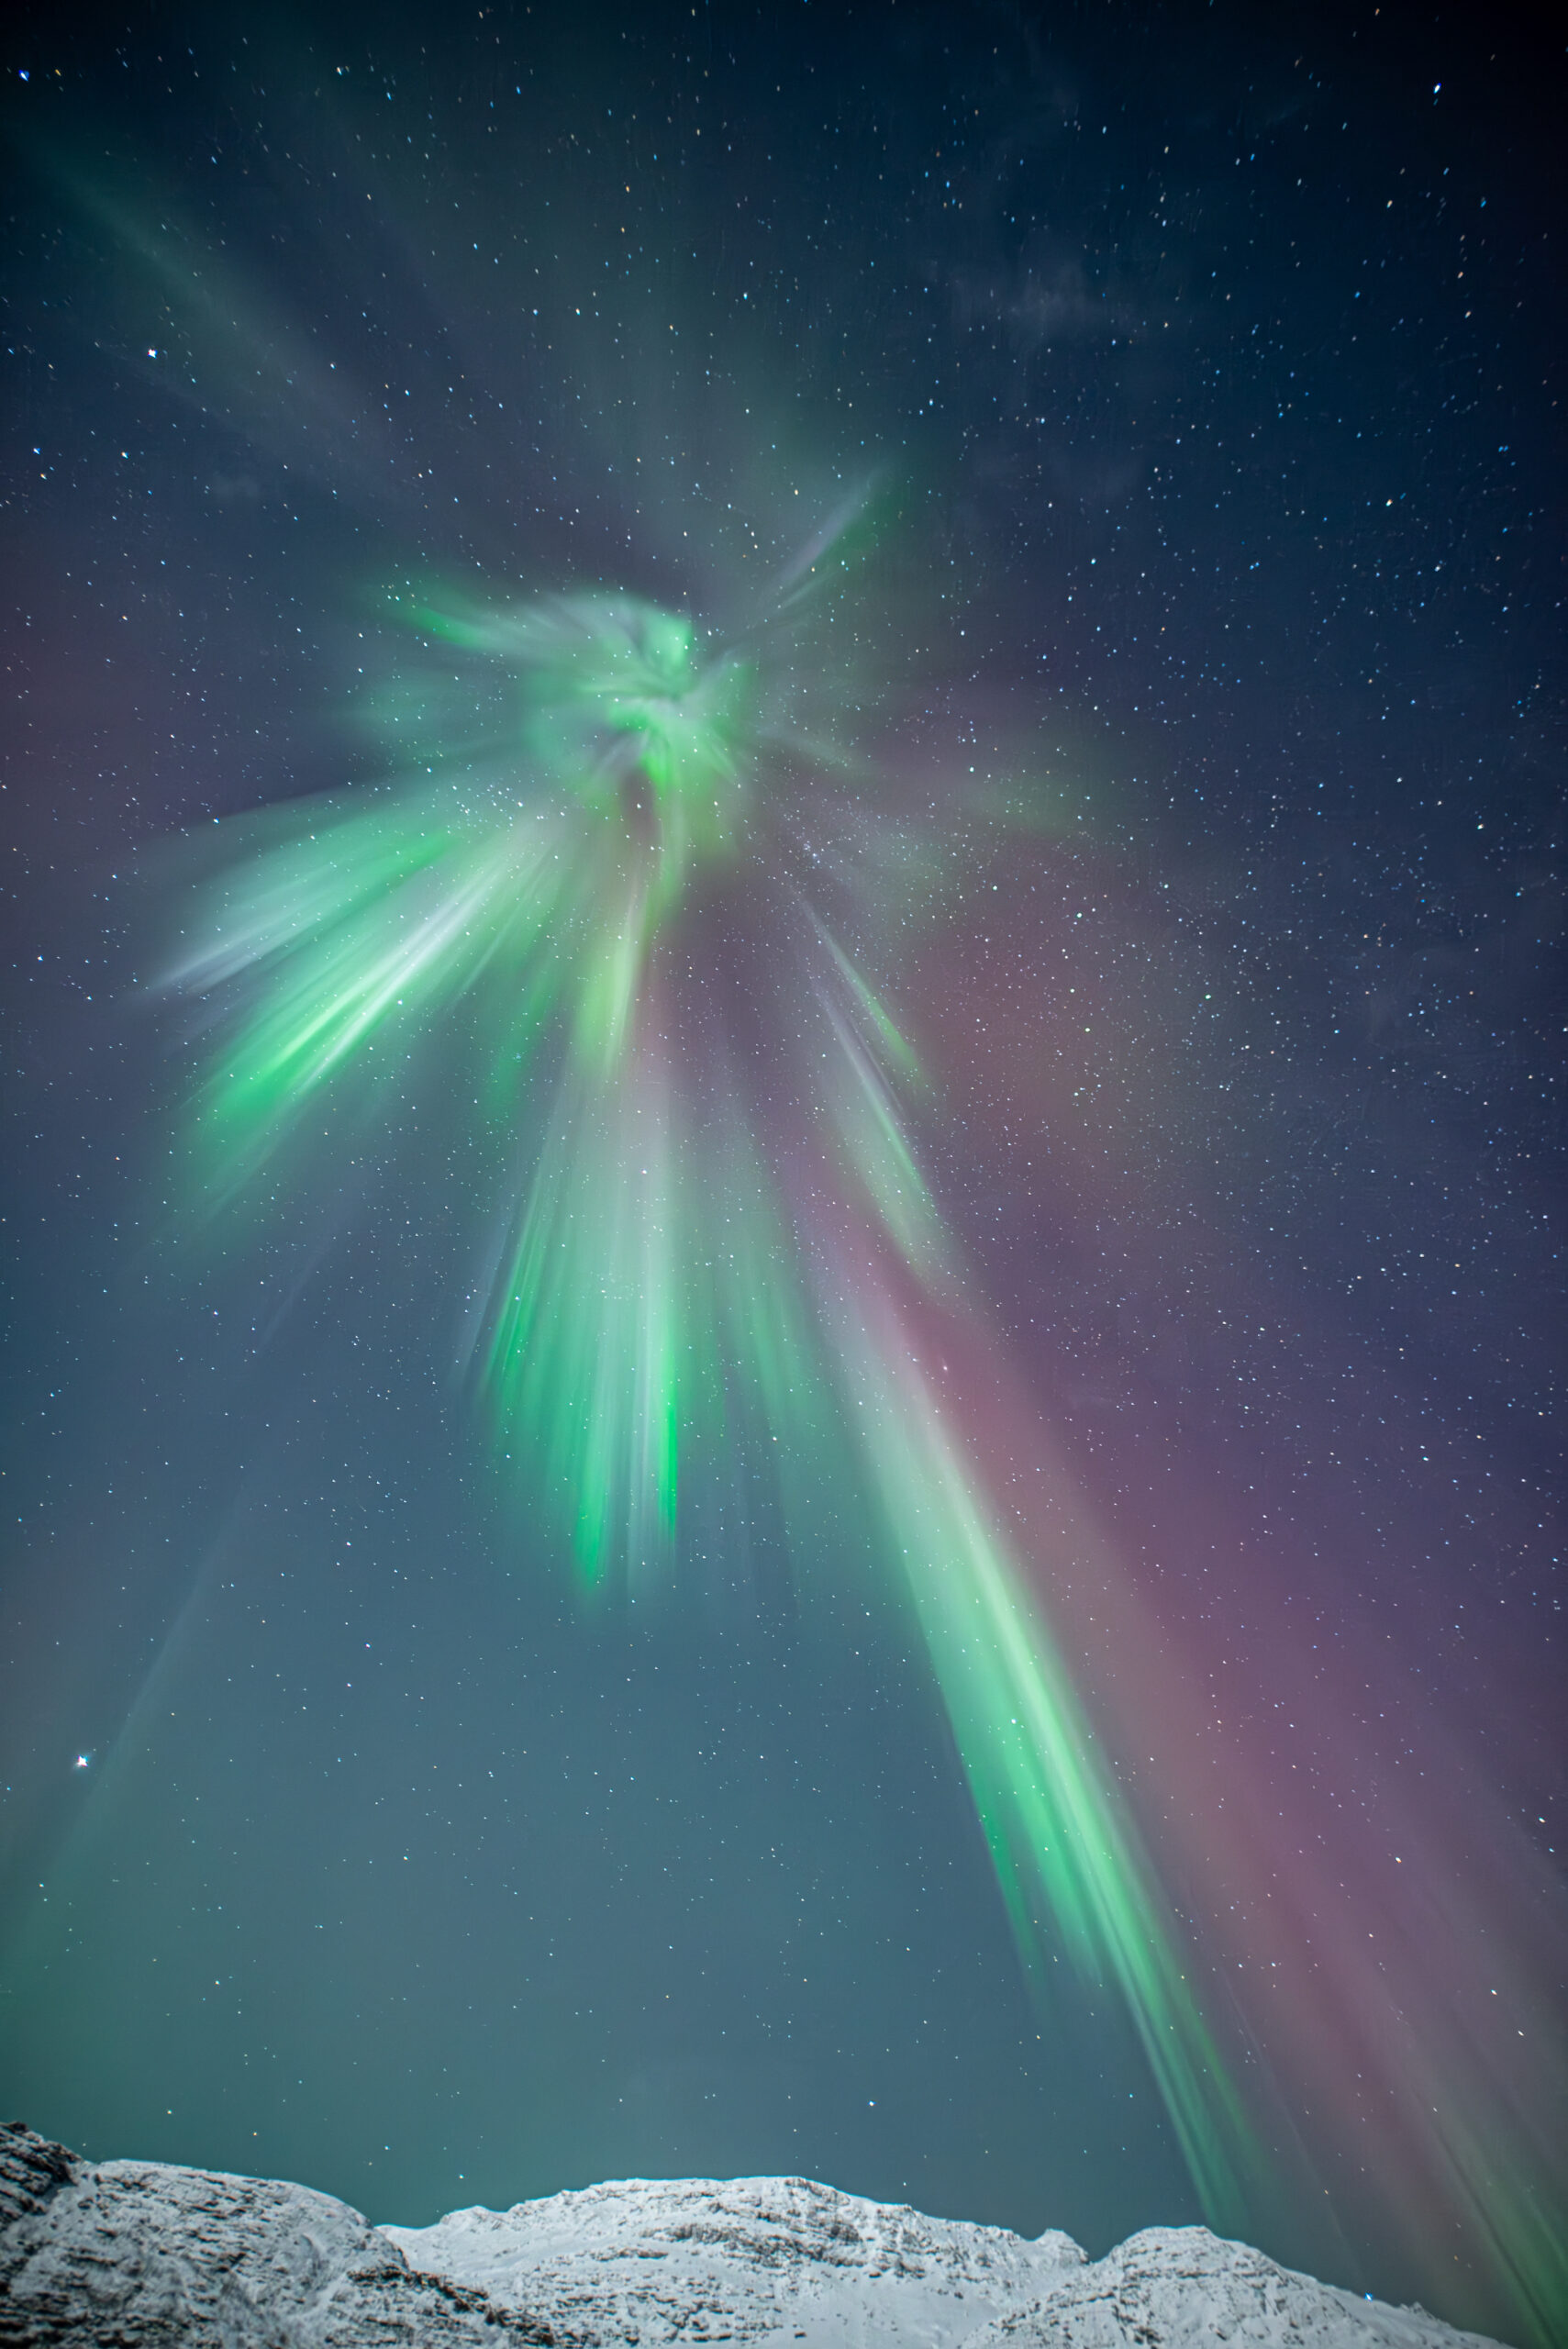
Capturing the Northern Lights on camera is a dream for many photographers, both amateur and professional. However, photographing this stunning natural phenomenon requires specific techniques and equipment. In this guide, we will discuss how to photograph the Northern Lights, including the best camera settings, essential gear, and tips for getting the perfect shot.
Essential Equipment
To successfully photograph the Northern Lights, you will need the following equipment:
A DSLR or mirrorless camera – Smartphones typically struggle to capture the aurora due to low-light conditions.
A fast lens (wide aperture) – A lens with an aperture of f/2.8 or wider is ideal for low-light photography.
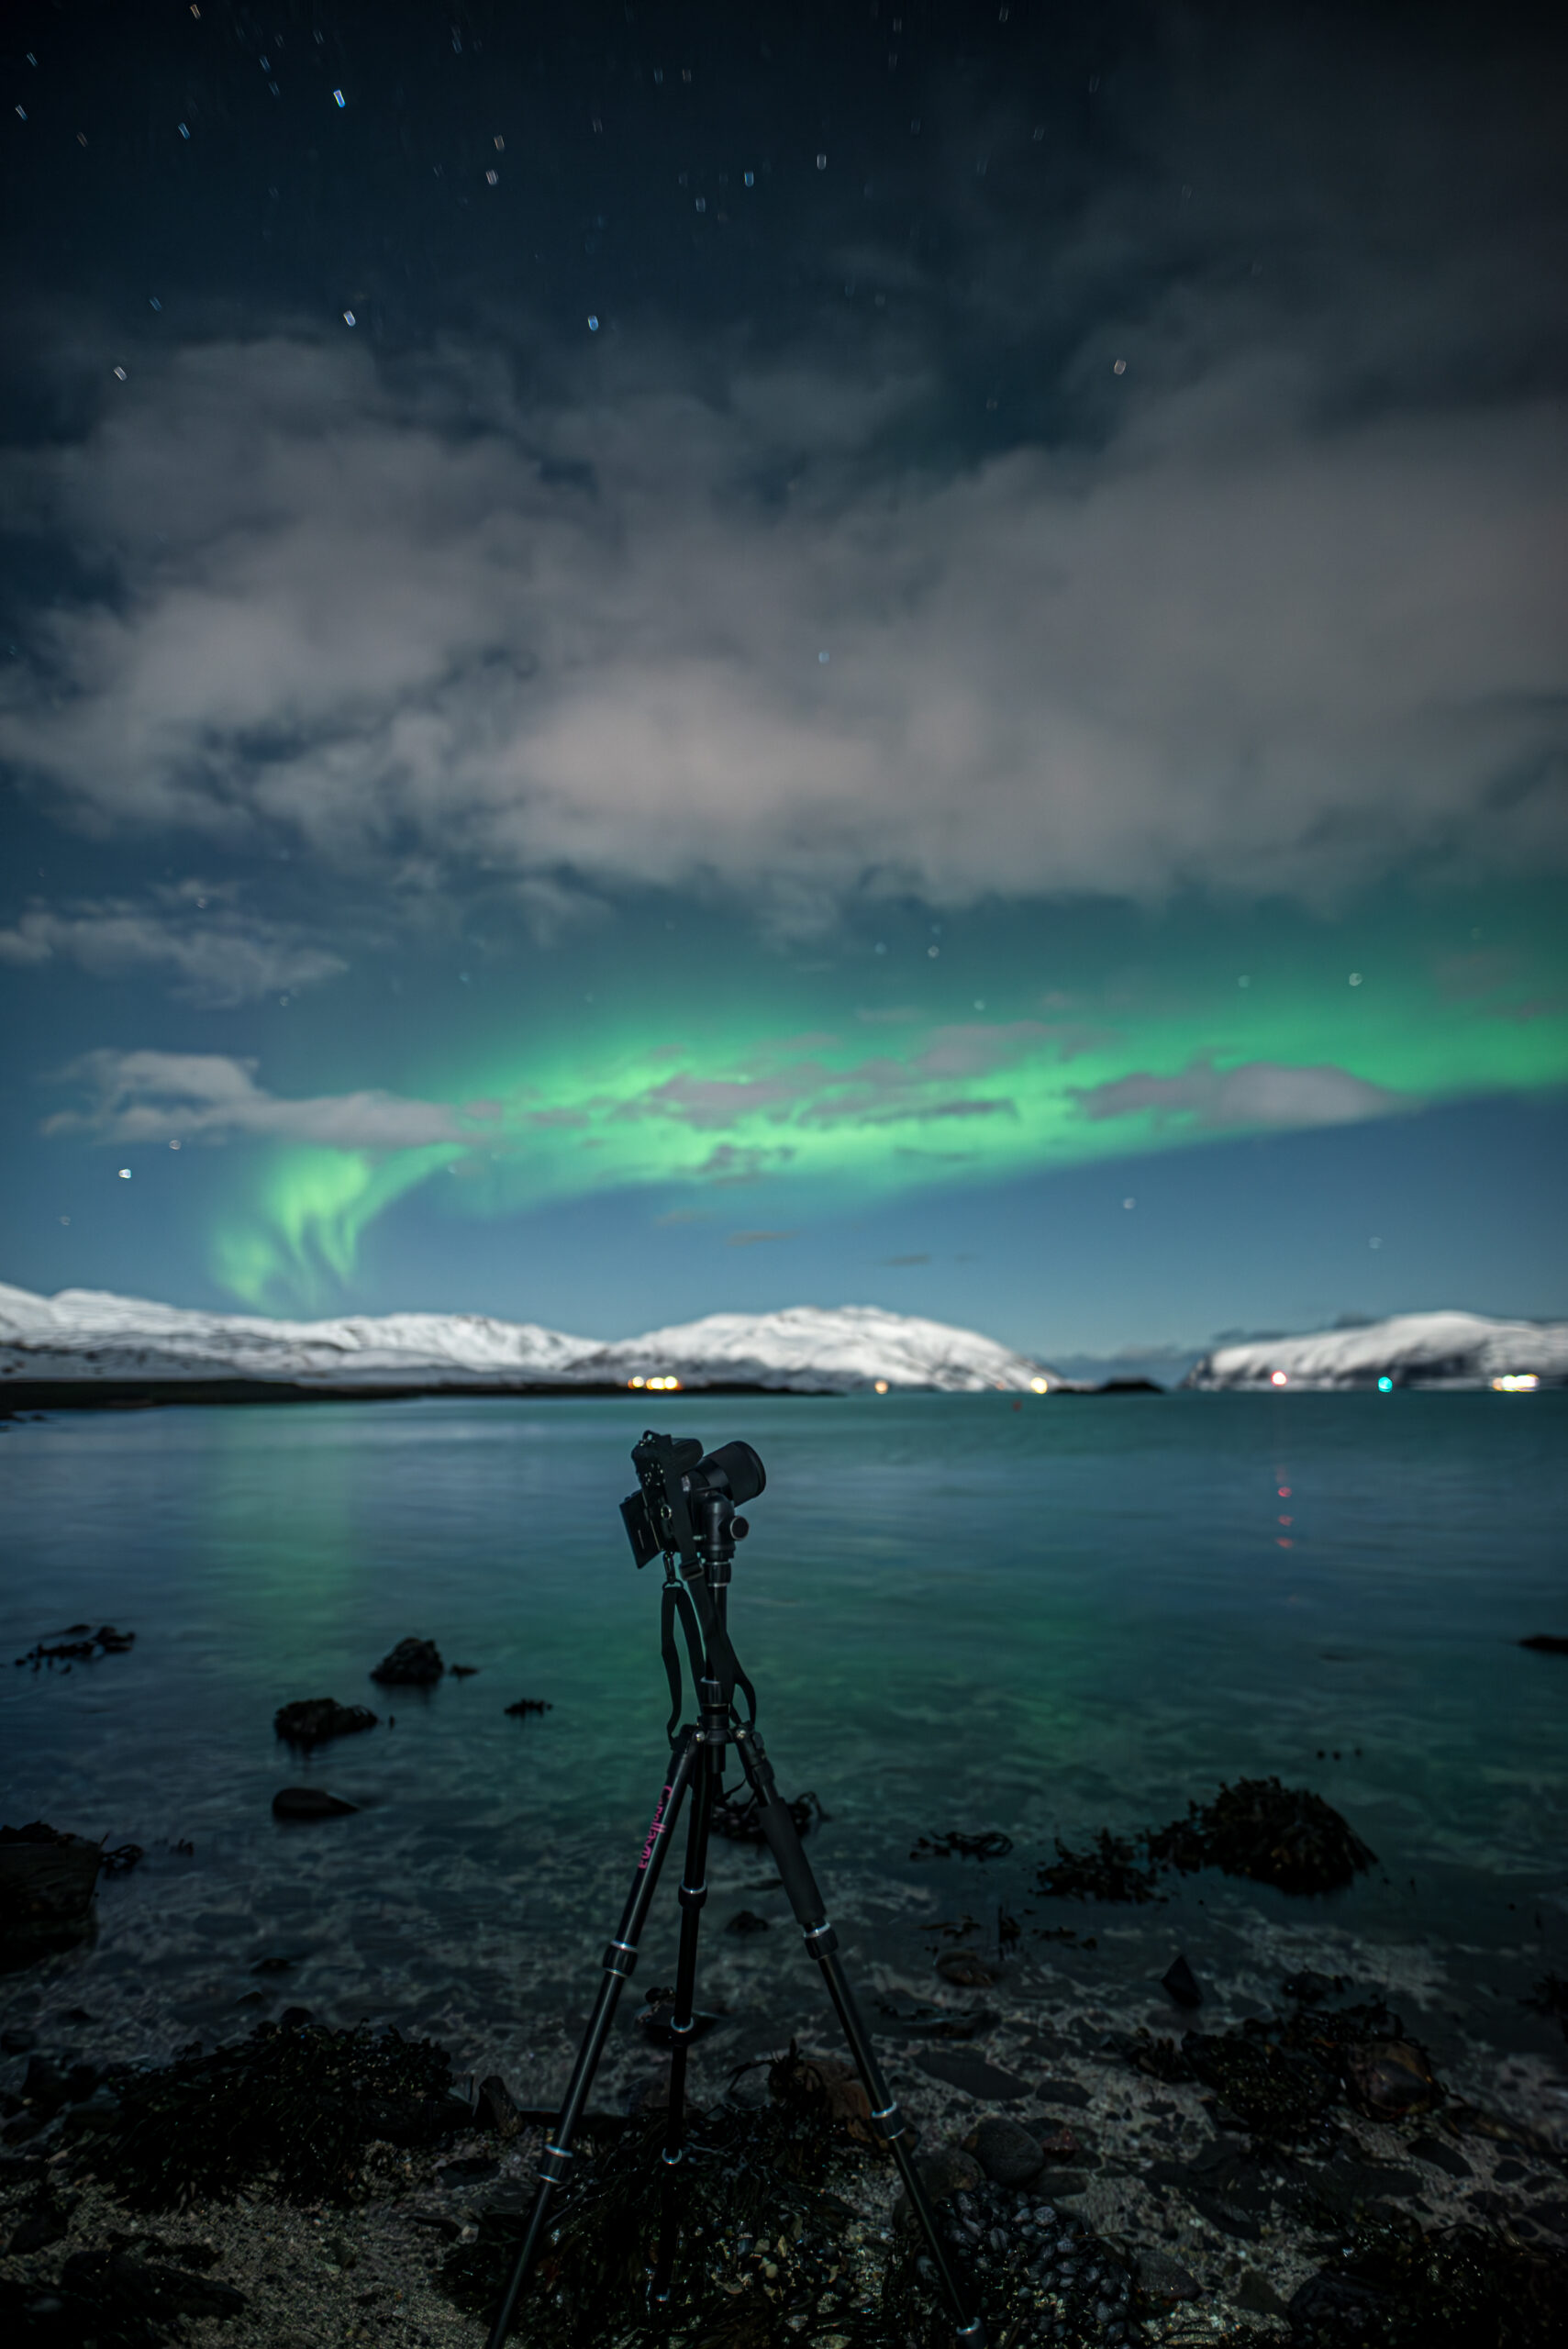
A sturdy tripod – Long exposure shots require stability to prevent blurry images.
A remote shutter release – Helps to reduce camera shake when taking long exposure shots.
Best Camera Settings for Northern Lights Photography
- Use Manual Mode – Set your camera to manual mode to have full control over settings.
- Adjust ISO – Start with an ISO between 800 and 3200, depending on light conditions.
- Set Aperture to the Lowest f-stop – A wide aperture (e.g., f/2.8) lets in more light.
- Use Long Exposure – Shutter speeds between 5-15 seconds capture more light and motion.
- Focus Manually – Autofocus may not work well in the dark, so focus manually on a distant bright object.
Additional Tips
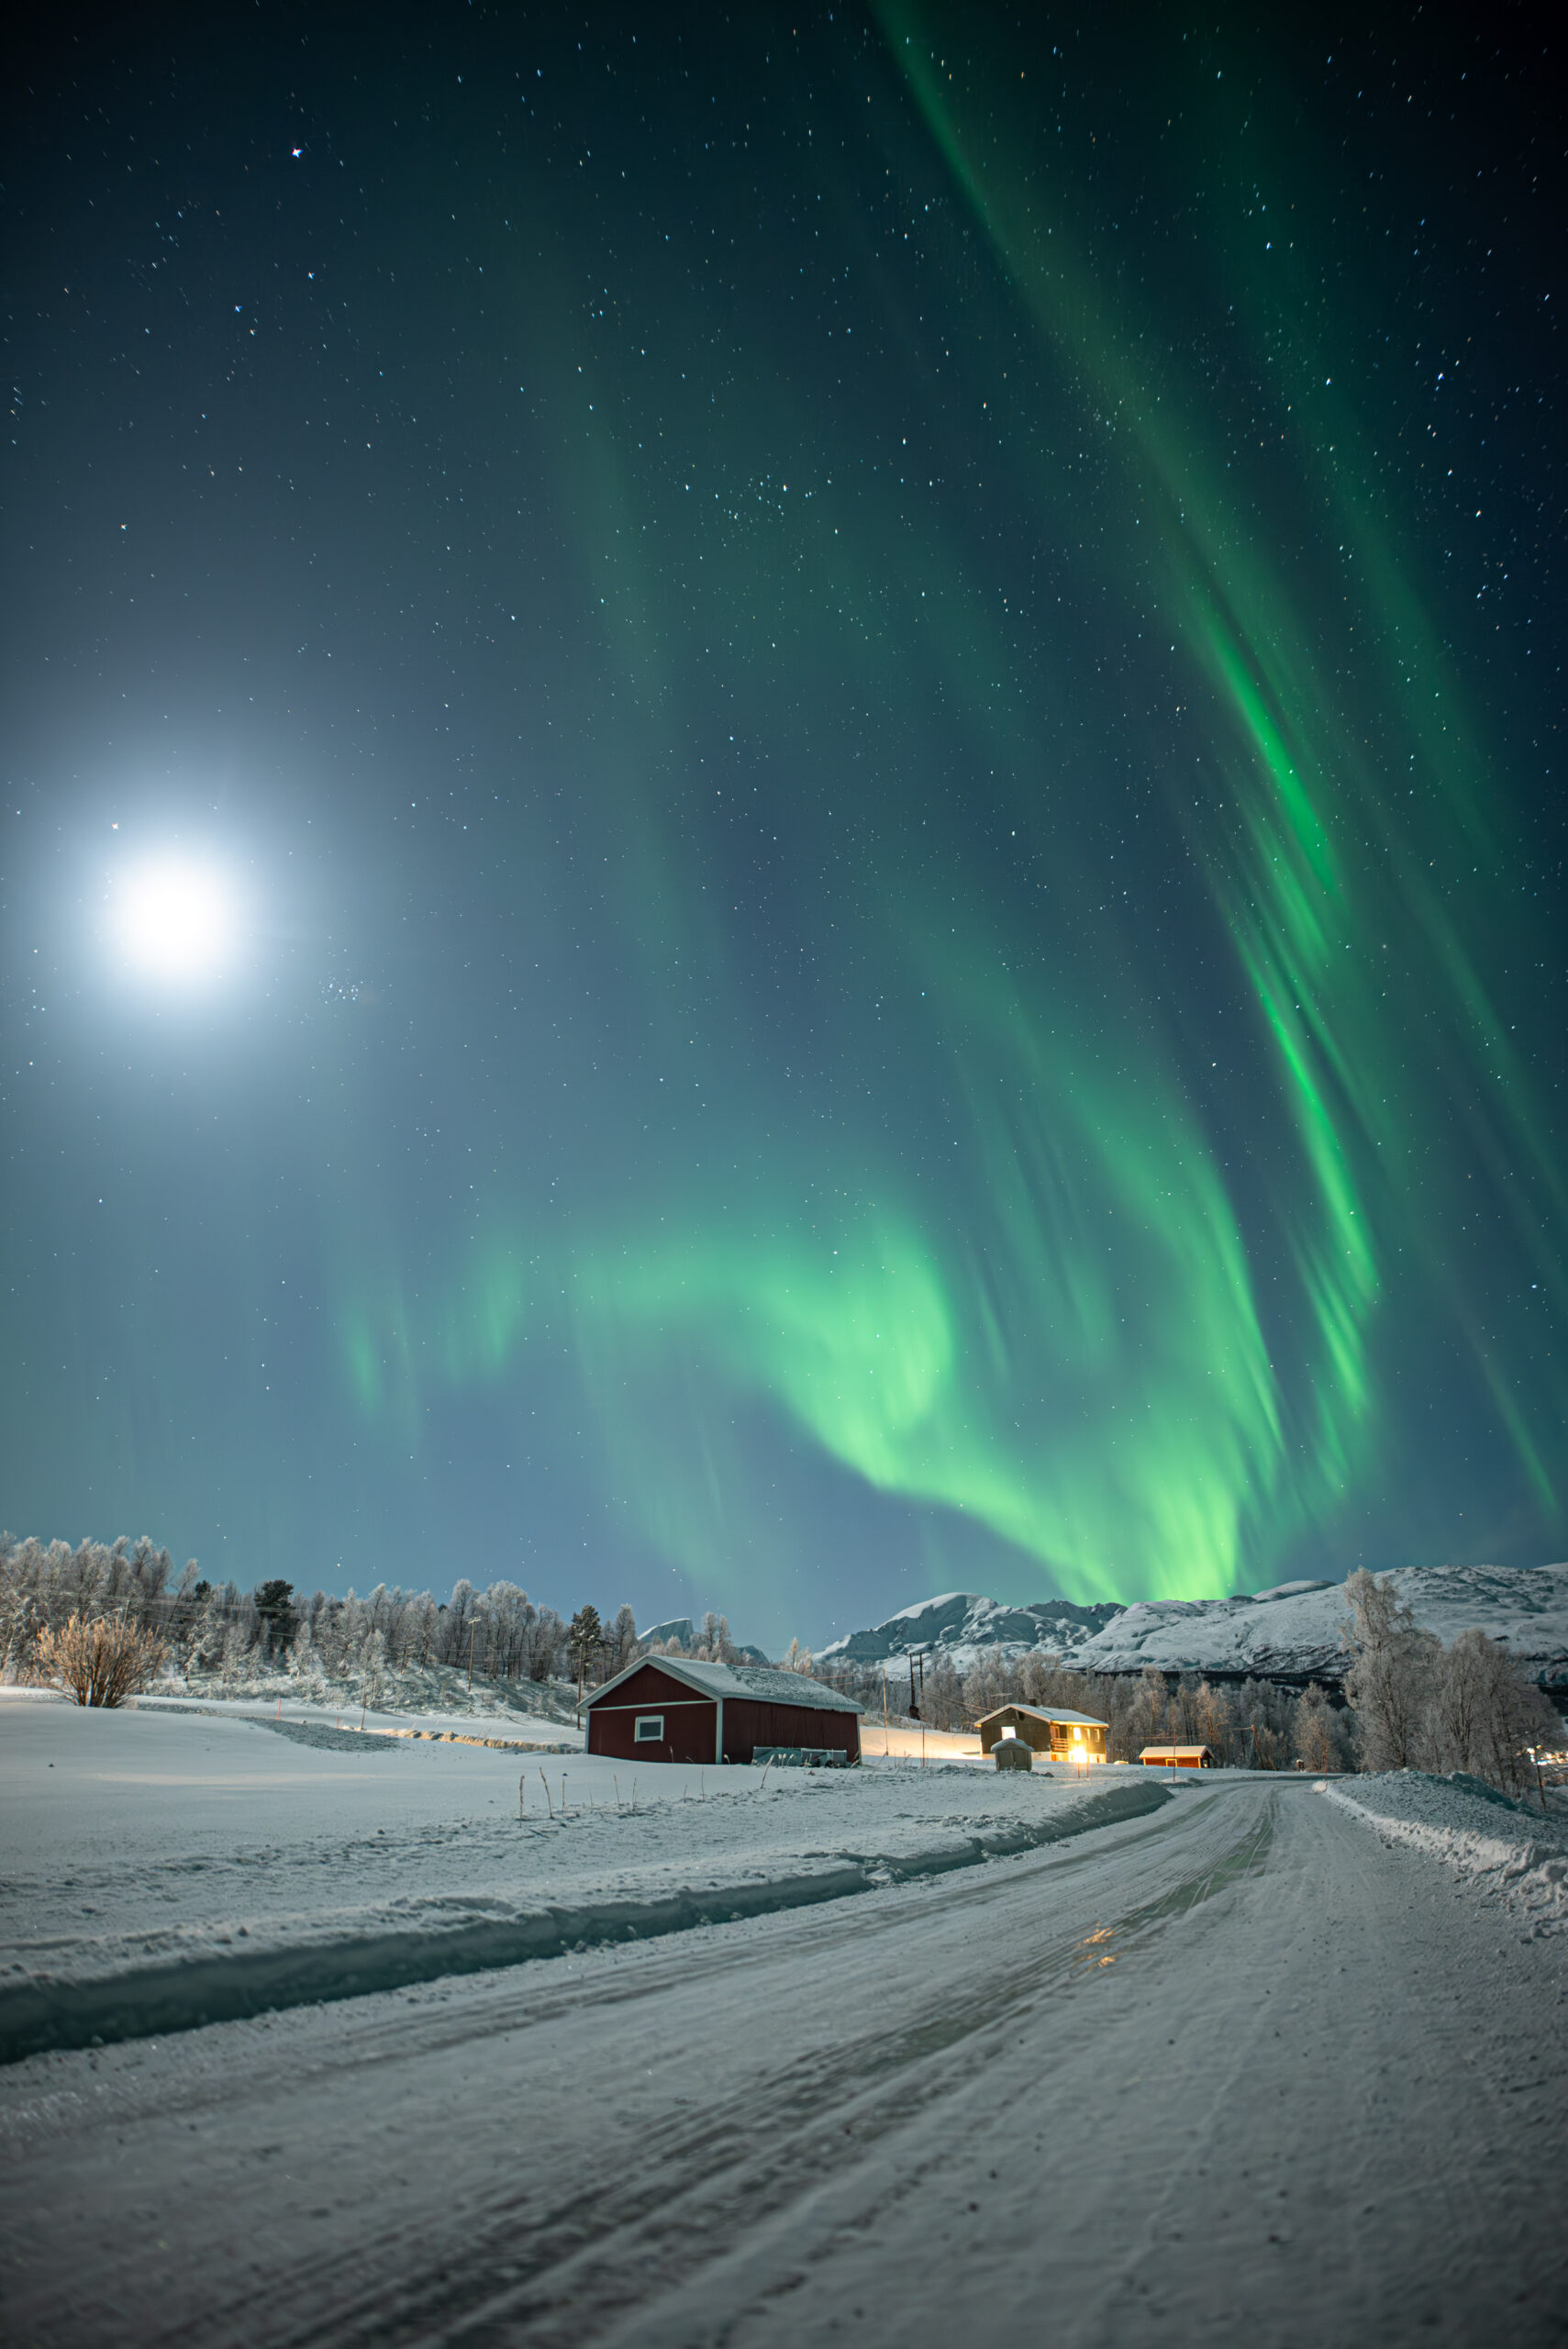
- Check the Aurora Forecast – Websites and apps can help you track aurora activity.
- Find a Dark Location – Avoid light pollution for the best visibility.
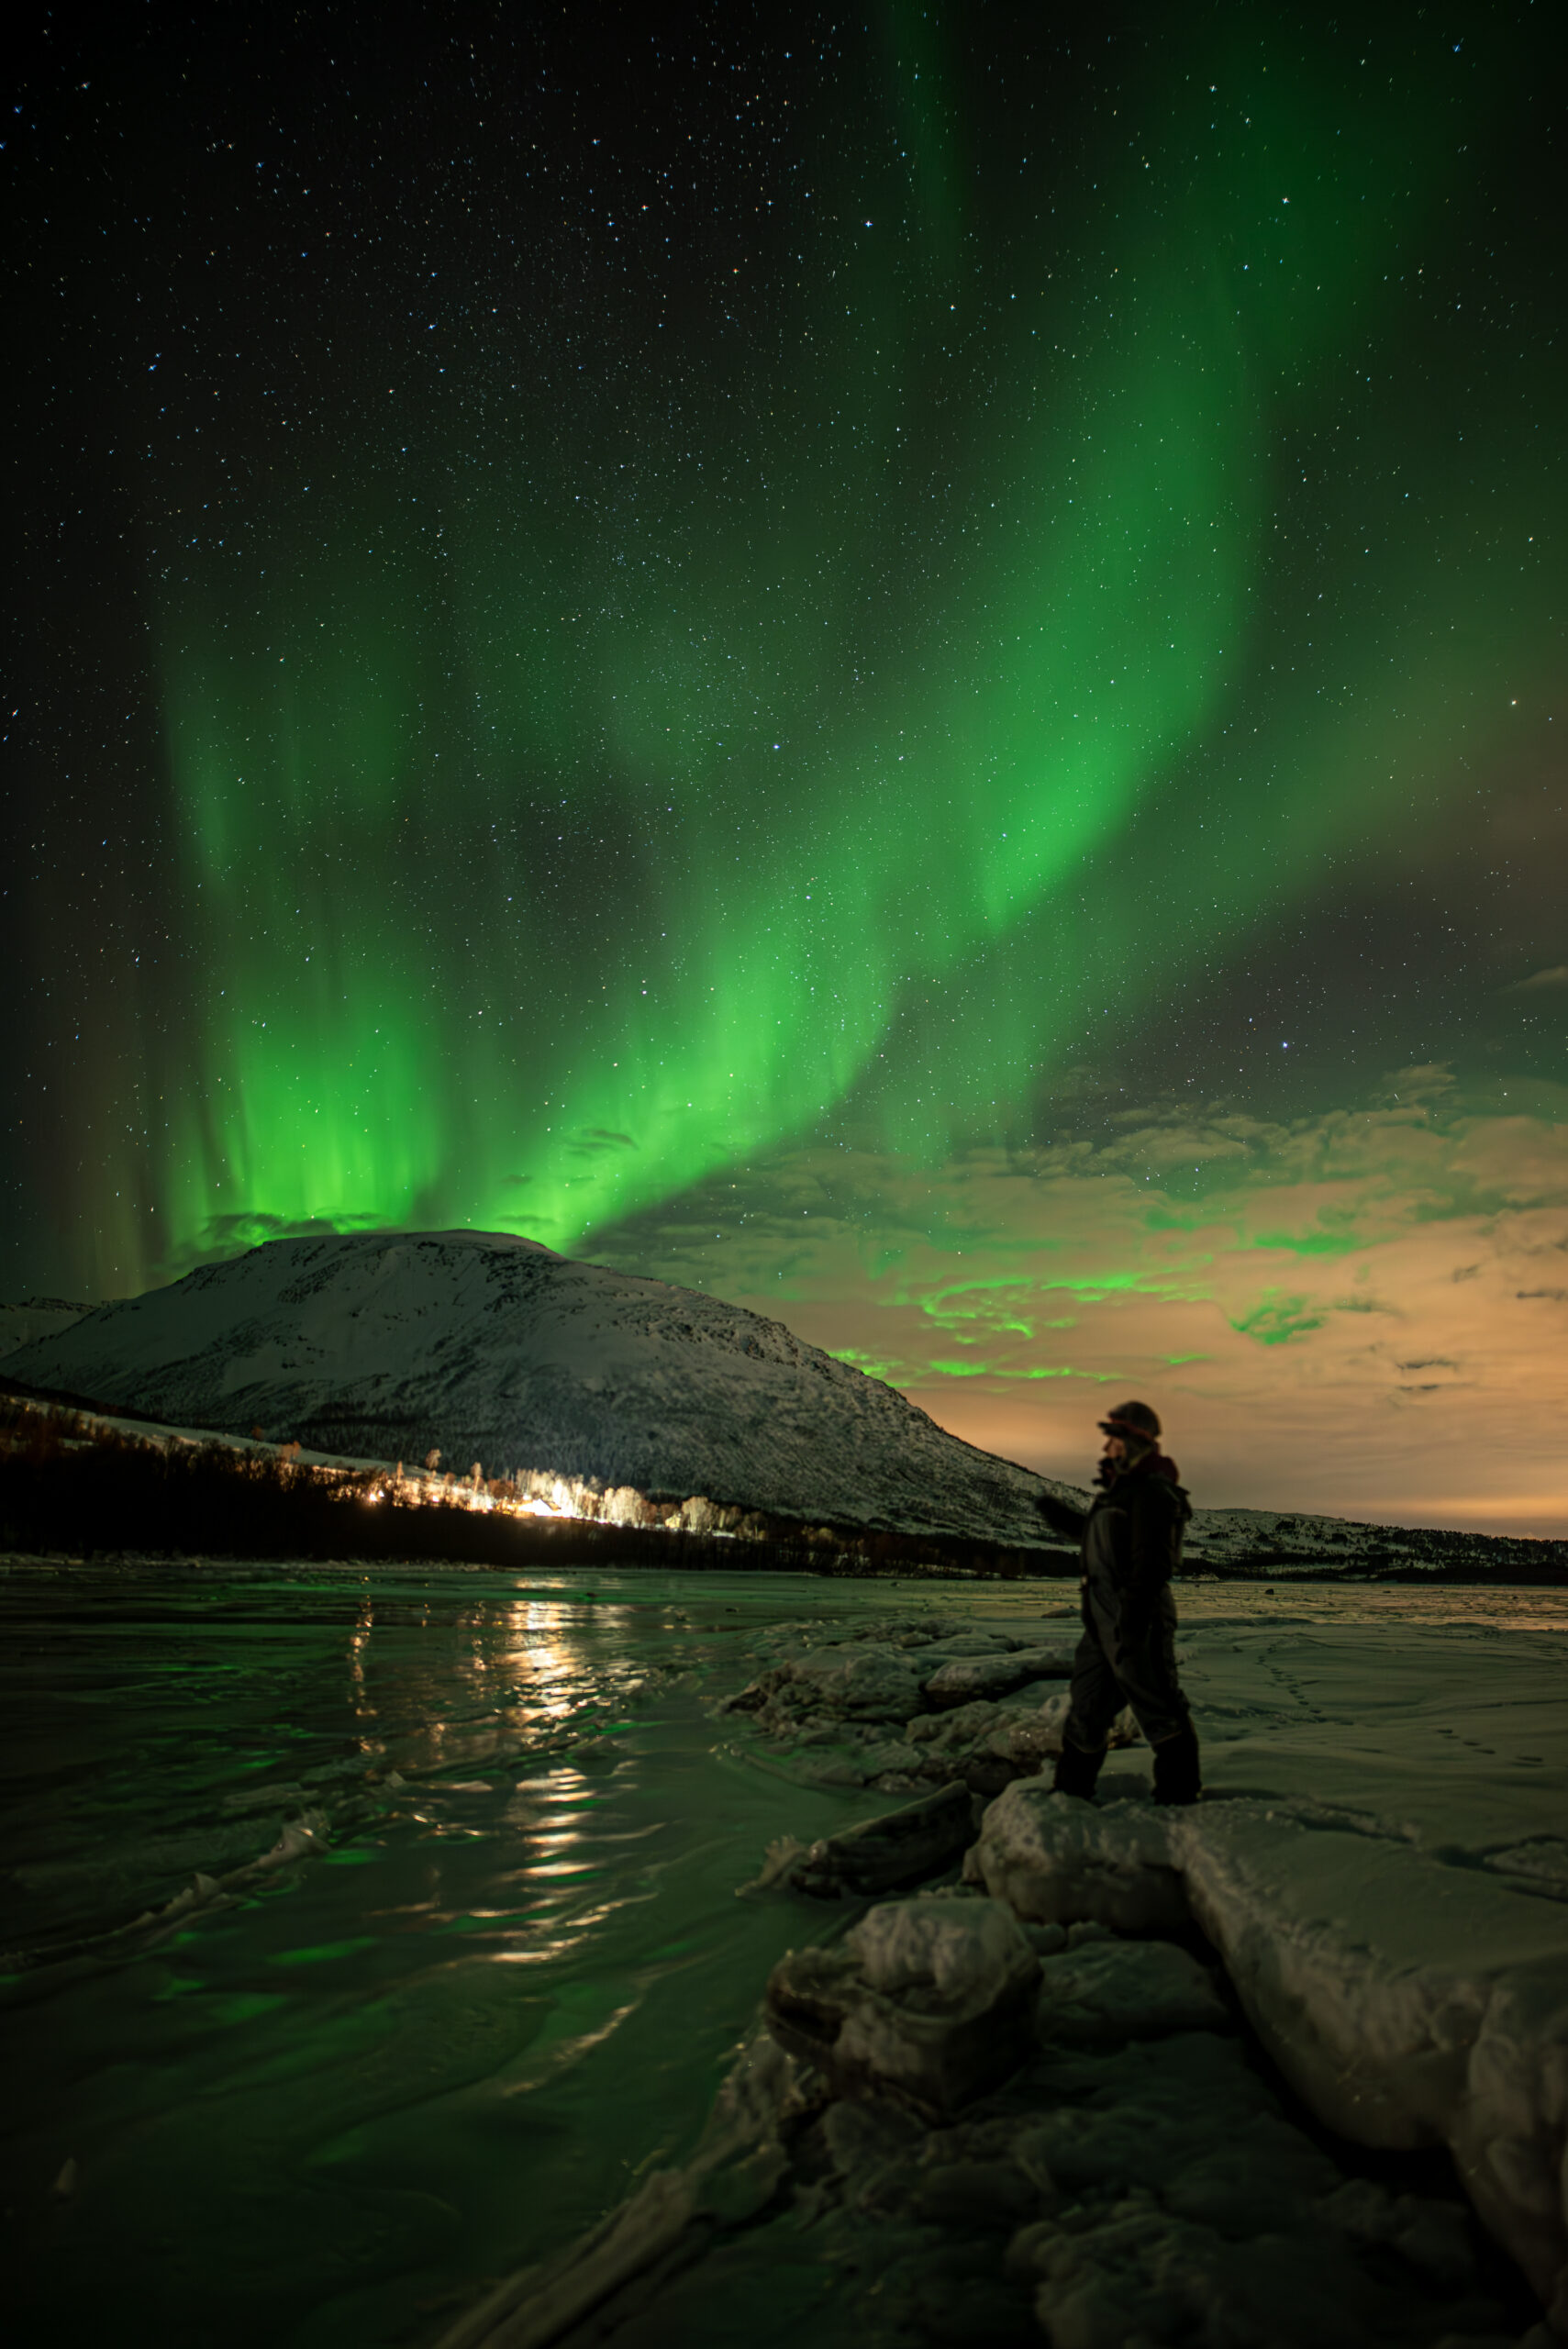
- Dress Warmly – You might be outside for hours in freezing temperatures.
Photographing the Northern Lights requires patience, the right gear, and knowledge of camera settings. By following these tips, you’ll have a much higher chance of capturing stunning images of this breathtaking natural phenomenon.